Installing
SmartWEB's installation is a straightforward process that requires a number of steps to be taken beforehand, such as a Microsoft SQL Server readily available.
SmartWEB uses a Microsoft SQL Server for optimal functionality and compatibility. This allows the system to complete processes fast, as well as have enough space to store all the necessary data.
There are other possible alternatives such as:
-
SqlCe - SmartWEB has built-in support for SqlCe, but it has limited capability compared to a MS SQL Server, and some of the modules may not work properly (Smartsys Epks Event Collector). Using SqlCe is only recommended for small scale operations and tests, where larger database services are not required, since its lack of storage capacity makes it difficult to store data from elements such as event collectors. SqlCe will store the data in a file in the
App_Data folder. This makes it convenient for demonstration purposes, since the data will not be lost if the program directory is changed. -
Microsoft SQL Server Express Edition - highly limited in regards to speed and database capacity, with a maximum database size of 10 GB. The processing power is limited to 4 cores. This means that the memory may not be used in its entirety. This edition of a MS SQL Server is only recommended for use in small systems, where the data that is being stored is not a large amount.
Before you install:
SmartWEB's installation scripts come complete with Internet Information Services (IIS) and .NET Framework. They will be installed along with the system, and do not require setup prior to that, unless a different version is needed.
The following chapter will explain and guide you trough the necessary steps, needed to install SmartWEB, including the installation of a MS SQL Server, as well as the preconditions required to complete the setup successfully. The system will run on all versions of Microsoft SQL Server that are 2008 or higher. For this example we will use a Microsoft SQL Server 2012 Standard Edition.
Preconditions
To install SmartWEB the following is required:
-
Windows 7 x64 operating system or higher.
-
Administrator rights on the operating system that SmartWEB is being installed on.
-
Microsoft SQL Server 2008 database or higher.
-
Administrator rights on the database.
-
Optional:IIS 7.0 or higher (automatically installed by SmartWEB's installation scripts). -
Web Deploy 3.5 or higher
-
Optional:.NET Framework 4.5 or higher (requires manual installation if it's not part of the operating system).
Installing a Microsoft SQL Server
If you already have a MS SQL Server installed you can skip this step, but make sure that the Mixed Mode (SQL Server authentication and Windows authentication) option is enabled. Also, make sure that the account you are using has administrator rights on the server.
Once you have started the SQL Server installation the following screen will become available:
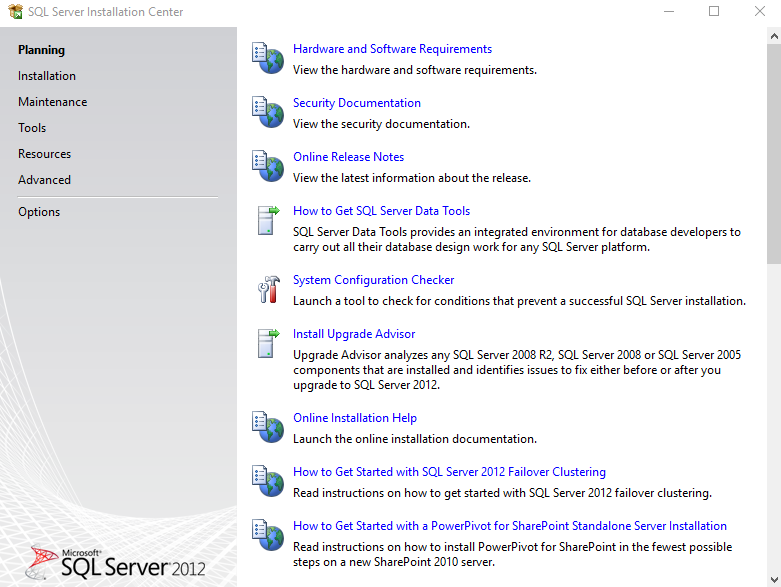
Navigate to Installation element, in the menu to the left, and select New SQL Server stand-alone installation or add features to an existing installation.

Enter the product key if it is required:

When you have reached the Setup Role window, select the SQL Server Feature Installation option.

Select the features you want to install, with the bare minimum being - Database Engine Service and Management Tools - Basic.
Depending on your license you can select additional options - SQL Server Replication,
Full-Text and Semantic Extractions for Search, and Management Tools Complete for example.

Select the Mixed Mode (SQL Server authentication and Windows authentication) option in the Authentication Mode section, as shown on the screen below, and enter the password for the administrator of the database in the Enter password and Confirm password fields. You can add the Windows account that is currently being used as an administrator by clicking on the Add current User button in the Specify SQL Server administrators section.

After the installation is complete the operating system (Windows in this case) must be restarted.

After the restart is complete, go to the start menu and open Microsoft SQL Server Management Studio.

Leave the default settings and click the Connect button. If everything is in order, and you have successfully managed to connect to the database, the following screen will appear:

Installing Web Deploy
Note:
If you already have Web Deploy installed, you can skip this step.
Go to the distribution package. Find the WebDeploy_amd64_en-US.msi installation package and run it.

Click Next.

Check the I accept the terms in the License Agreement box and click Next.

Select the Typical setup type.
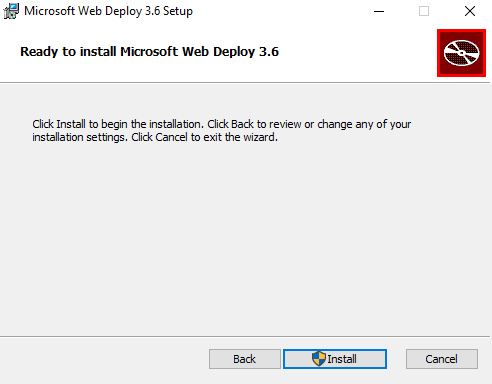
Click the Install button.

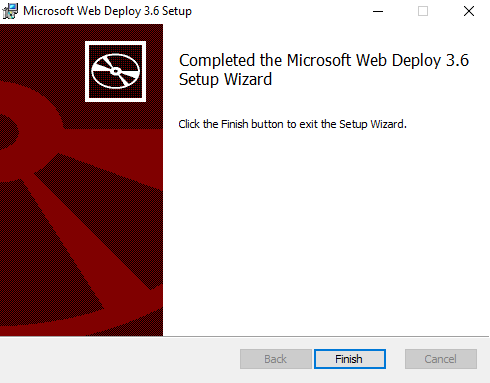
Click Finish.
The installation package for Web Deploy's extension for IIS can also be found at:
http://www.iis.net/downloads/microsoft/web-deploy.
Installing .NET Framework
Note:
Skip this step if your operation system is Microsoft Windows Server 2012 or higher.
Note:
SmartWEB uses .NET Framework 4.5, but a newer version can be installed.
The installation for the .NET Framework is straightforward.
Go to the distribution package. Locate the NDP451-KB2858728-x86-x64-AllOS-ENU file and go trough the intuitive installation process. Alternatively, it can also be downloaded here: http://www.microsoft.com/en-us/download/confirmation.aspx?id=40779.
Registering the .NET Framework ASP .NET installation in IIS.
Note:
Skip this step if your operation system is Microsoft Windows Server 2012 or higher.
Note:
If the .NET Framework package is installed after the IIS installation, you can skip this step.
Go to the Command Prompt and run it as Administrator. Run the following command:
C:\Windows\Microsoft.NET\Framework64\v4.0.30319\aspnet_regiis –i
Installing Redis Cache as Windows Service
Redis is an open source (BSD licensed), in-memory data structure
store, used as a database, cache and message broker. It also provides
persistence of data. It is highly recommended to use Redis cache
service when using SmartWEB. We recommend Redis and SmartWEB
to be on the same machine.
You can download MSOpenTech's release 3.2.100 for 64-bit Windows
from here
https://github.com/microsoftarchive/redis/releases/tag/win-3.2.100
Run the MSI package and follow the instructions.
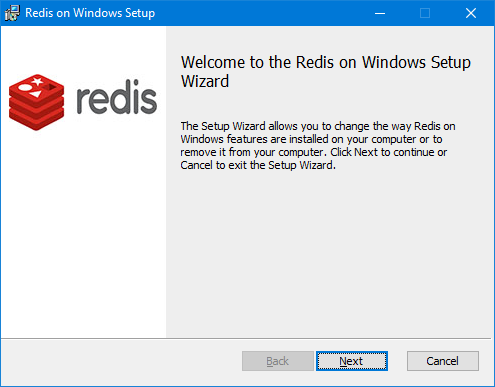
Press Next.

Accept the license agreement and press Next.
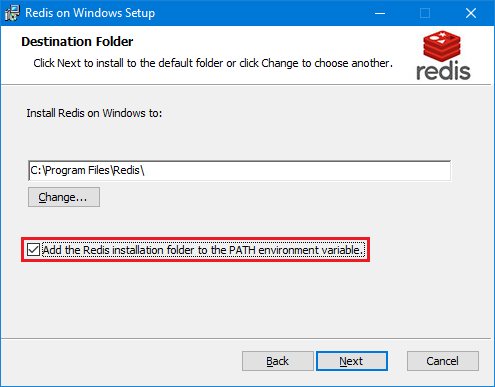
Check
Add the Redis installation folder to the PATH environment variable and
press Next.

Leave the defaults as shown above and press Next.
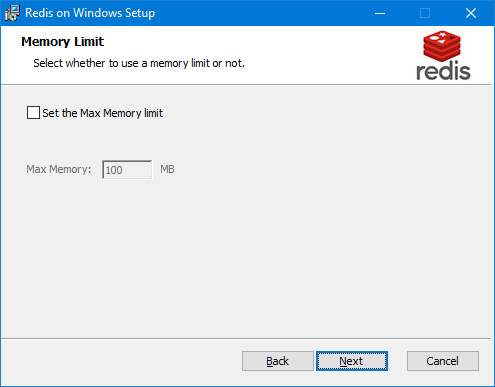
The maxmemory configuration directive is used in order to configure
Redis to use a specified amount of memory for the data set. It is
possible to set the configuration directive using the
redis``.windows``.conf file, or later using the CONFIG SET command
at runtime. Leave the defaults (without memory limit constraint) and
press Next.
Warning:
If maxmemory is set and the specified amount of
memory is reached, it is possible to lose data depending on chosen
eviction policy. Some of the SmartWEB data is persistently stored in
Redis and evicting it will lead to unwanted behavior. However if you
want to set limit, ensure it is enough (e.g. 2GB or more).

Press Install and wait.

Press Finish.
Now Redis cache service is installed and running.
Note:
The proposed Redis release is MSOpenTech's port for Windows based on antirez/redis https://github.com/antirez/redis, but you are not limited to it. If you use Redis cache on other platform/machine ensure that memory limit is big enough and network latency is small.
More information about you can find here https://github.com/microsoftarchive/redis/tree/3.2 and here https://redis.io/
SmartWEB modules like Smartsys Cachin``g, Smartsys Output Cache,
Smartsys User Space Cache, Smartsys Tag Sync benefits from Redis
cache.
Enable the following SmartWEB modules in order to benefit from
Redis: Smartsys Redis,``Smartsys Redis Output Cache,
Smartsys Redis Data Cache, Smartsys Redis Object Cache,
and Smartsys`` Redis User Cache.
By default, Redis listens on port 6379 and no password is required
to connect. The Redis connection configuration of SmartWEB is in
the Web.config file of the module Smartsys Redis.
In connectionStrings section, you will find for each provider
connection string to the Redis cache server like:
<add name="Smartsys.Redis.OutputCache" connectionString="localhost:6379, syncTimeout=10000" providerName="0"/>
syncTimeout``={int} - Time (ms) to allow for synchronous operations
password``=``{string}``- Password for the R``edis server
connectTimeout``={int} - Timeout (ms) for connect operations
abortConnect={bool} - If true, Connect will not create a connection
while no servers are available
ssl={bool} - Specifies that SSL encryption should be used
noCertCheck=``{bool}-- If true and ssl is enabled then server
certificate will not be checked.
Endpoints without an explicit port will use 6379 if ssl is not enabled, and 6380 if ssl is enabled.
SmartWEB uses StackExchange``.``Redis client, so more about
connection options you can find here
https://stackexchange.github.io/StackExchange.Redis/Configuration
providerName="``{number from 0 to 1``5``}``" - Specify which database
instance of Redis to be used. By default, Redis server starts with 16
database instances. Distribute provider connections across instances.
Note:
Changing connection settings requires restart of the SmartWEB application pool in order changes to take effect.
Installing SmartWEB
SmartWEB's installation scripts will automatically install(if they are located on the system):
- IIS
- .NET Framework 4.5 (for Windows Server 2012 operating system or higher)
Take the Smart Web Site Deployment.rar file, from the installation package, and copy it into a temporary folder on the hard drive. Extract it in the same directory. There should be a subfolder named Smart Web Site Deployment. Inside, there should be various files, as well as a specific file named setparams.cmd. Right-click on the setparams.cmd file and select Edit.

Optionally, you can change the following elements:
-
siteName- the name of the site in IIS (If you change the name of the site, you have to change the value ofIIS Web Application Namewith the name you have entered in the configuration fileOrchard.Web.SetParameters.xml). -
appPoolName- the name of the pool that the application will work with. -
physicalPath- the path where SmartWEB will reside. -
smartweb_user- the username of the SmartWEB's administrator. -
smartweb_password- the password of the SmartWEB's administrator. -
bindingPort- the port of the Web server that SmartWEB will work on. -
db_provider- the type of the database that will be used -SqlCe,SQLServer.
The following settings will only be viable if the dp_provider is SQLServer.
-
db_path- the path where the database file will reside. -
db_user- the username that is used to connect to the database of SmartWEB. -
db_pass- the password that is used to connect to the database of SmartWEB. -
db_collation- database collation (SmartWEB uses an ORM module - NHibernate, which can only work with CI(Case Insensitive) collations. If you are using a Cyrillic keyboard the best option is to set it to -SQL_Latin1_General_CP1251_CI_AS. If you are only using a Latin keyboard, you can set it toSQL_Latin1_General_CP1252_CI_AS).
Save the file after you have performed the necessary changes and run the install.cmd file.

After the installation is finished, the SmartWEB homepage will open in the browser. If the installation is unsuccessful, you can view the install.log file.

Enter the credentials of the admin account and click the Sign In button. If the login was successful, the following screen should be visible:

Warning:
If you run the installation script over a working installment of the system, the script will automatically delete the database and recreate it.
In regards to productivity, SmartWEB's Web.config contains commented sections - Performance optimization, which can be enabled if you are working on a Microsoft Windows Server operating system. Some of the settings need to be authorized by Machine.config. The comments contain instructions on what to do.