The Media module, in SmartWEB, provides a UI to upload and organize binary files that can be used while creating content. It is used to upload a resource that can be accessed anywhere in the system.
Media Library
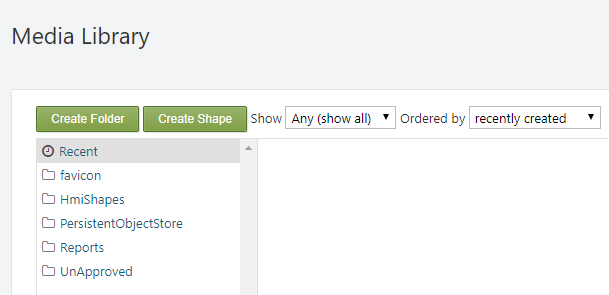
The Media Library can be accessed via Dashboard > Media. Here the user is be able to see and utilize media files, which are stored in specific folders in a tree-like structure.
Important:
In order for a user to be able to manage media in the Media Library - his assigned role must have the respective permission checked. For more information on users and roles visit the
Users and Roles chapter.
Important:
Note that a file that is not imported via the Media Library does not have a content item created for it, and is not visible.
Note:
The Import and Edit Folder options will be displayed after the user has selected a folder.
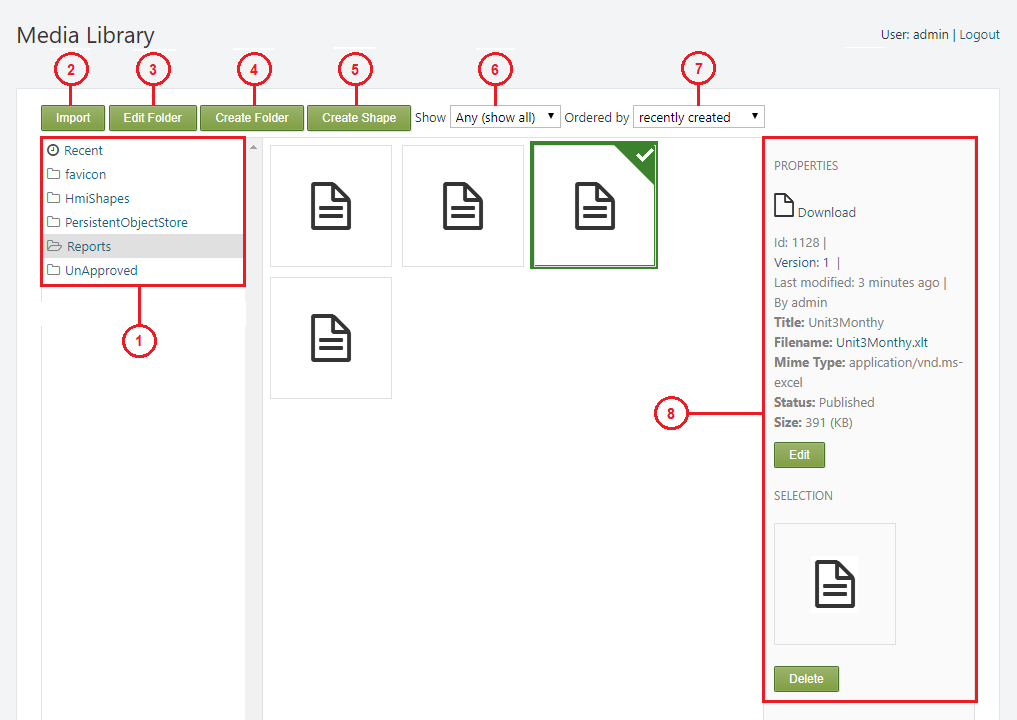
- 1) The files are stored in folders in a tree-like structure.
Recent- displays the most recent files.favicon- web icon.Hmi Shapes- stores the shapes that are in use (HMI Editor in-depth).PersistentObjectStore- contains Excel (.xlsx) files regarding -DISPLAYS,PARAMETERS,POINTS,SERVERS.Reports- stores the server reports in.xltformat.-
UnApproved- stores shapes that are in development (therefor are not accessible in the editor). It is not advisable to import anything into this folder, because it is a system folder, and newly created shapes are automatically stored in it. -
2)
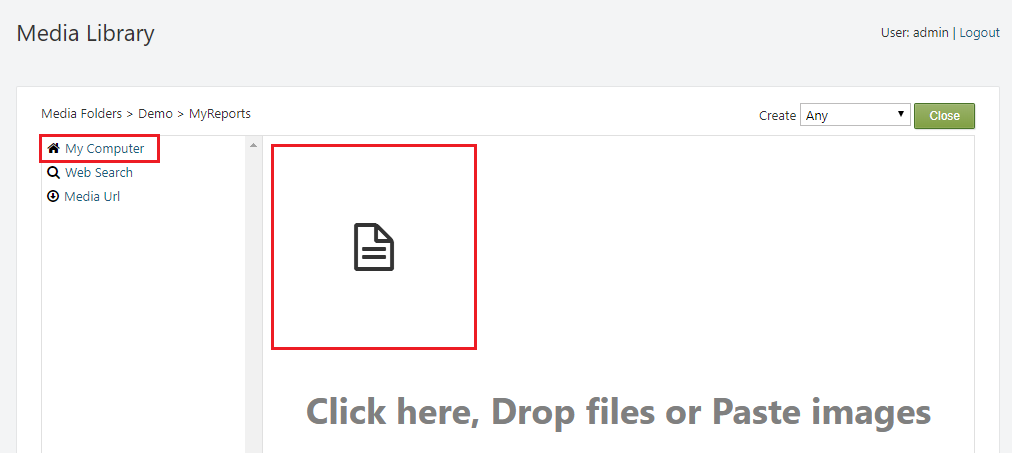
Import- the user can import files from an external source. There are three import options available:
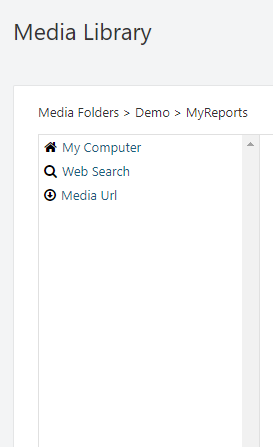
My Computer- import a files from the computer on which the system is running.Web Search- import files via web search.-
Media Url- import files via a media url. -
3)
Edit Folder- edit the selected folder.
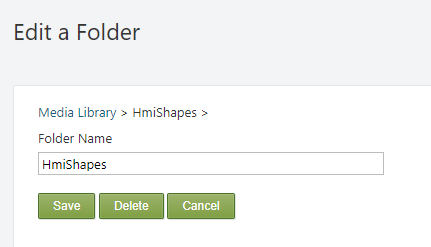
- The text field in which a new name for the folder can be provided if necessary.
Save- save the new changes.Delete- delete the folder and all sub-folders that it contains.-
Cancel- cancel editing. -
4)
Create Folder- create a new folder. In order to create a folder within another folder, you must first select the folder in which you want to create the new sub-folder by clicking on it. -
5)
Create Shape- this option is used for creatingshapes. Visit the Dynamic Shapes Development chapter for more information onshapes. -
6)
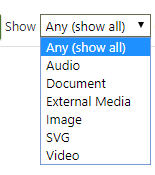
Show- this dropdown list allows the user to filter the files by their type:Any,Audio,Document,External Media,Image,SVG,Video.
- 7)
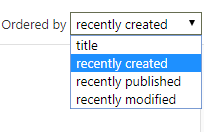
Order by- this dropdown list allows the user to sort the files by:recently created,recently published,recently modified.
-
8) This panel displays the property data of the selected file.
-
id- Theidof the file in the database. -
Version- The version of the file (content itemthat is created for it). -
Last modified- The time at which the file was last modified. -
By- The owner of the file. -
Title- The title of the file. -
Filename- The file name/extension. -
Mime Type- The mime type of the file. -
Status- The current status of the file. -
Size- The size of the file. -
Edit- allows the user to edit theTitleof the file and provide a caption and/or alternate text. -
Delete- delete the file.
Example
The following example in intended to show the user how to create and structure files in the Media Library.
The first step is to create a folder, which for the purposes of this example will be named Demo, so it it can then be used to store files. This is done via the Create Folder button 4), as explained above.
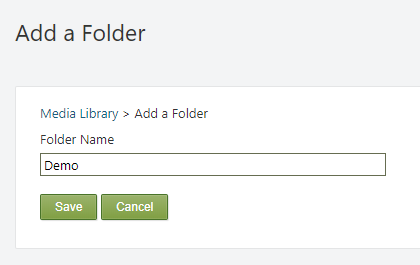
Enter the specific name in the Folder name field and click Save.
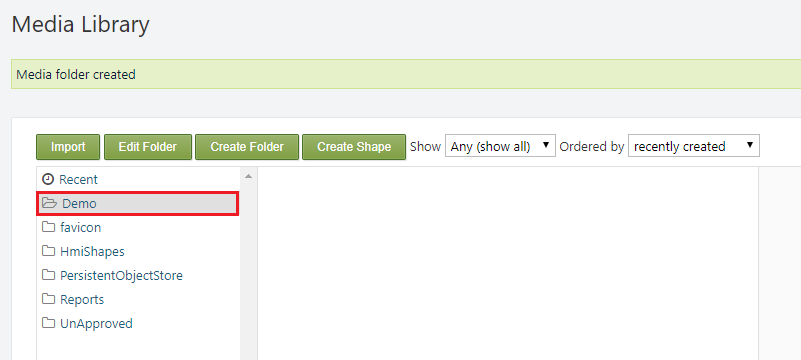
A Media folder created message can then be seen at the top of the page, and the recently created folder will be visible in the tree-like folder structure of the Media Library. We will then repeat the same process to create a sub-folder named - MyReports. Select the Demo folder with a left click to target that specific directory, and create the new sub-folder.
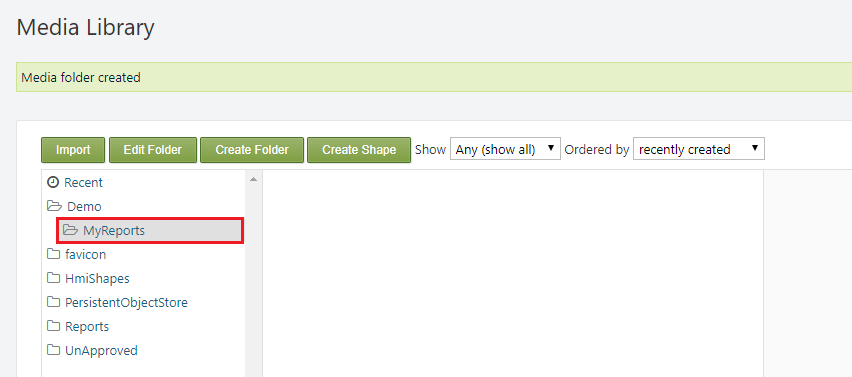
If the process was completed successfully there should be a Media folder created message at the top of the page, and the new sub-folder will be visible inside the Demo parent folder.
The folders are now created, but they are empty. To import files simply use the Import button 2) as shown above. For the purpose of this example we will import a report file from the local machine.
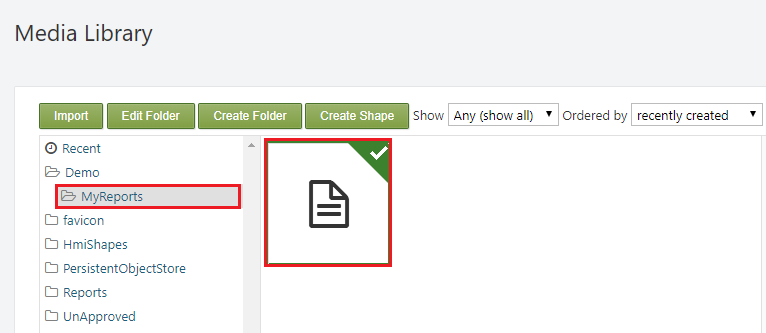
If the process was successful the file will be visible in the respective folder in the Media Library.
Media Storage
The Media Storage is used to browse the physical files of the items that are present in the Media Library. The main purpose of the Media Storage in SmartWEB is to provide the url of a resource.
In order to be able to get the url of a resource, the user needs to navigate to its directory via the Media Storage section. For the purpose of this tutorial we will use the example that was given above - MyReport.
Navigate to Demo>MyReports>MyReport.xlt.
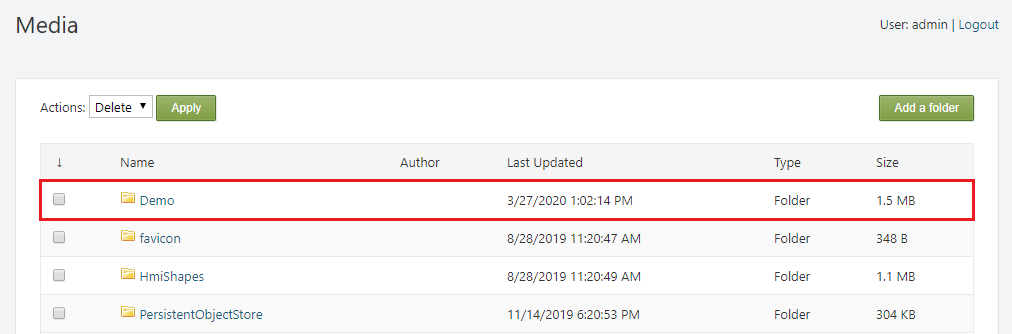
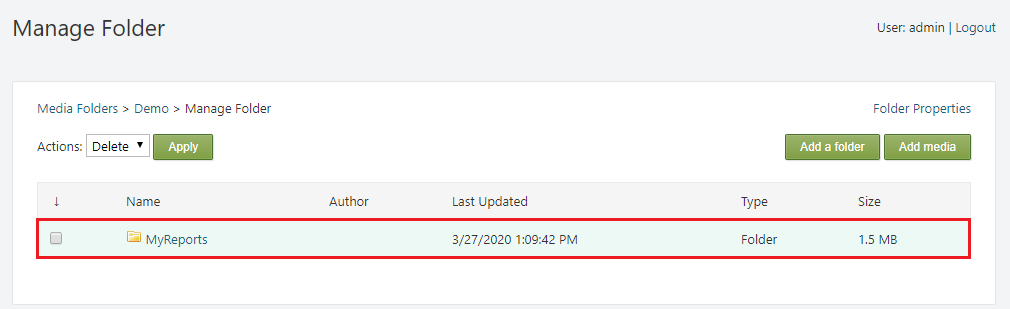
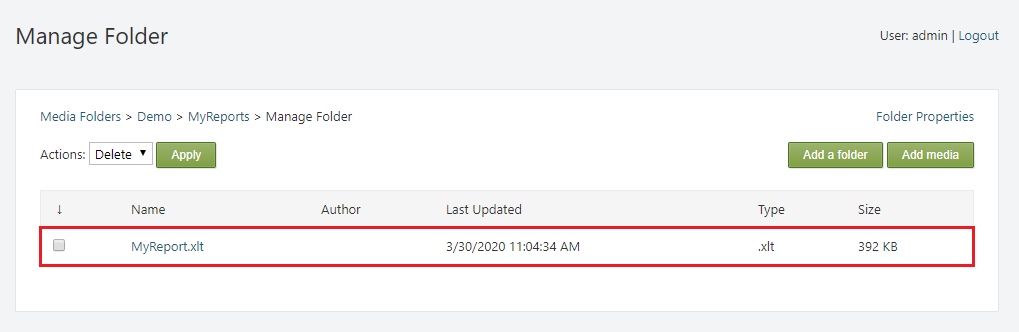
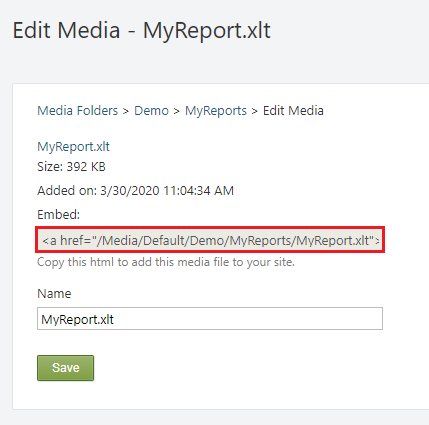
On this page the user will be provided with a link to the respective resource - in this case MyReport.xlt via the Embed field. The link can then be copied and placed where necessary in order to be utilized.